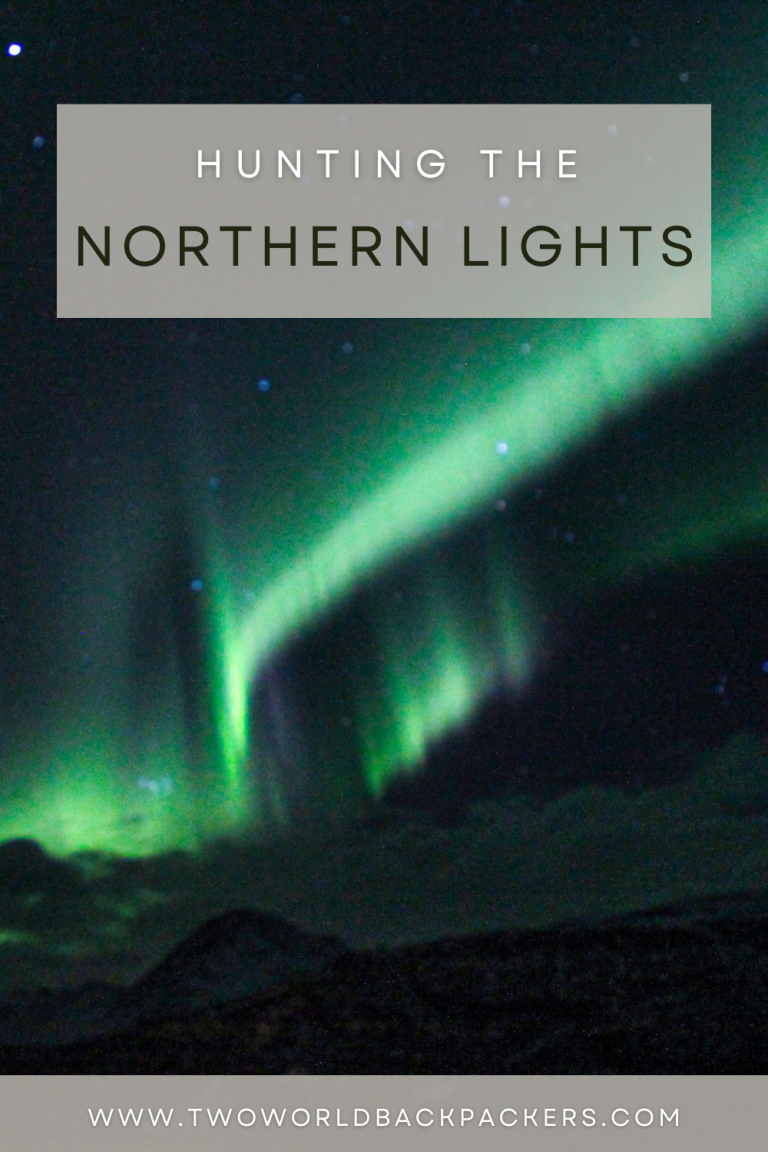
Hunting the Northern Lights
By Two World Backpackers
Who has not dreamed of seeing the Northern Lights? It is undoubtedly on every traveller’s list and is one of the dreams of many, many people, although sometimes it is not so easy to see them. If you are planning your trip to go in search of them, let us tell you that right now we are very jealous!
If you want to know how it was our experience, some tips on how to photograph it, or the best places to see it, keep reading!

Table of Contents
What's an Aurora Borealis and its different colours
We’ve all seen photos of that wonderful light show in the sky, but what is an aurora borealis?
An aurora occurs when charged particles from the Sun collide with the Earth’s magnetic field and are guided towards the poles by our magnetic field. In the Northern Hemisphere they are known as Aurora Borealis, and in the Southern Hemisphere as Aurora Austral.
The most common colour is green, but depending on the relative proportions of oxygen and nitrogen at the level of auroral activity, some colours will be produced or others. Atomic oxygen is responsible for the greenish and red colours, while nitrogen is the responsible of the intense blue, purple and red colours.
The best time to see it
Regardless of where you decide to see them, the best time to enjoy this wonder is in winter due to the fewer hours of sunlight.
- Aurora Borealis in the Northern Hemisphere: The best time is from mid-September to March. On the other hand, according to solar activity, the best time to see them is during the equinoxes.
- Aurora Austral in the Southern Hemisphere: However, in this part of the hemisphere, the best time to see them is between March and September.
In our case, we saw them in February in Norway and Iceland, although in the latter country they were small and we only saw them one day.
Where to see it and the conditions that must exist for it
There have been some cases of sightings of the Northern Lights not so close to the poles. Although, the closer to them, the more chances of seeing them.
Here we leave you some of the best places to see both the Northern Lights and the Southern ones.
Some of the best places to see the Northern Lights are:
- Norway: Lofoten Islands, Tromsø, Svalbard among others
- Finland: Kakslauttanen, Levi, Urho Kekkonen National Park
- Sweden: Jukkasjärvi, Kiruna, Aurora Key Station near Abisko National Park in Swedish Lapland.
- Iceland: Reykjavik, Pingvellir Park, Jökulsárlón Glacier.
- Canada: Yukon Territory, Saskatchewan, Newfoundland, Nova Scotia, and British Columbia.
- Alaska: Denali, Fairbanks
While some of the best places to see the southern auroras are:
- New Zealand: Stewart Island, Queenstown, Lake Tekapo, and Dunedin.
- Australia: Tasmania
- Antarctica: Belgrano II Base
- Argentina: Ushuaia
- Chile: Punta Arenas
- Falkland Islands
However, not only must the location be taken into account but also a series of factors to be able to see them as they are:
Solar activity is crucial, since the more solar activity there is, the more chance you will have of seeing them.
The sky must be clear and, you must go to a place as far away as possible from any artificial light.
Finally, we recommend you bundle up yourself warmly since at those places at night there are freezing temperatures, a lot of patience, a hot chocolate, good luck, and wait! We assure you that if you see them, it will be worth it and it is an unforgettable experience.
Nowadays, there are many apps to see the aurora forecast according to the place and time.
For example, on our trip to Iceland, we used two websites to see the forecast: https://en.vedur.is/weather/forecasts/aurora/
In it, you can see the areas of the country that will be clear (the white area) and where there will be clouds (the green area).
On the other hand, we also checked the forecast on the NASA website: https://www.swpc.noaa.gov/products/aurora-30-minute-forecast
This website also shows you the probability of visibility it has according to the day and time.
Our experience in Tromsø
When we decided to go to Tromsø in February 2018, we knew that we wanted to see the Northern Lights no matter what. So at Tromsø Tourist Info, we hired a small group tour for € 120 each, which included: transport to the accommodation, hot drinks, dinner, tripod in case you didn’t have one, and a suit and thermal boots in case you are colder only with your clothes. And thank goodness! Since it took us to the highest point, passing the border with Finland and there was a temperature of -25ºC plus the wind.
If the price of this tour exceeds your budget, don’t worry because there are cheaper tours. We chose this one because it was with a small group of about 7-10 people and because it was the longest, since this tour was 7 hours while the rest were about 3-4 hours with a larger group and did not include the same things.
The truth is that we loved it, and the guide we had, Roy was splendid. He didn’t stop looking for the best place to see them until he found it. So in the middle of nowhere at -25ºC, windy and cold, Roy made like a barricade with the ice, put furs on the ground to sit down, and made a bonfire to keep us warm. We got to a point where Laura was so super cold. Even wearing the boots and the thermal jumpsuit provided by the tour company on top of her clothes, her fingers were hurting a lot and she just wanted to cry and get out of there. But then Roy gave us hot chocolate, made us a meat stew to warm us up, and it was just then that we saw the northern lights appear, so at that moment, all the pains disappeared.
It was the most incredible experience we have ever had, and it was worth not only the price but as well the cold we went through. Besides, Roy wasn’t happy with us seeing them only there, so he took us to the shore of a lake in the mountains where we could see them even bigger, and more impressive.
In case you go to Tromsø and you want to do this tour, we booked it with the Arctic Trip company.
If, on the other hand, you prefer to go looking for them on your own, remember that you need to look for places away from any artificial light, far from cities, remember to look at the weather forecasts for the auroras, bundle up well, and be very patient.
Tips to help you take photos of the Northern Lights
Finally, we are going to give you some tips to take photos of the auroras, since we believe that they can be very useful especially if you are not professional photographers, or if it’s the first time you see them. Like it was our case, and we had no idea how to take a photo of them.
As mentioned, we are not professional photographers, and these are simple tips that have been useful to us when photographing the Northern Lights. We hope they help you too!
First of all, you are going to need a tripod. There is no way to do these photos properly without a tripod unless you have an impressive pulse that allows you not to move a millimeter for at least a minute or two.
Regarding the camera settings:
- Put Manual mode
- Select the shutter speed from within 10 seconds.
- Make sure the camera lens aperture is 3-5 or less. If you have any problem adjusting it, see that the zoom of the lens is removed.
- Select the ISO of 1600
- Set a 2-second timer to prevent camera shake while taking the photo.
If you prefer to use your phone, there are many applications to photograph the auroras and one in particular called NightCap for iPhone, which is chargeable, that allow you to do incredible time-lapse videos. With this app, you only need a tripod to support your phone, press to record, and enjoy the show!
Unfortunately, this app is not available for Android.
Do you know any other way to take this type of photo? Any other place to enjoy this stunning phenomenon? Or any other app for it? Tell us below in a comment, and don’t forget to tell us how your experience has been if you go in search of the auroras.


